1
Step 1

Fold the paper in half from left to right then unfold back to the original position.
Paper Airplane Build Guide
A classic glider that's been around since the beginning days of paper aviation. Its proven stable engineering welcomes even the most novice pilots to step into the flight deck and fly like a pro. One bird you can't go without in your collection.
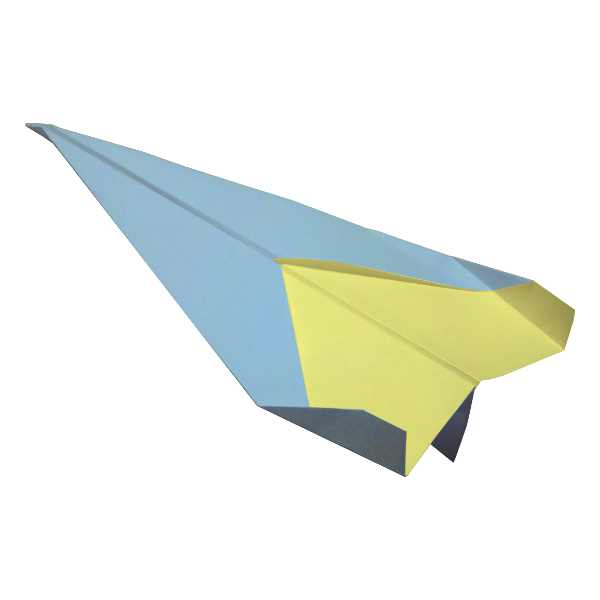
Build It
Follow each step in order, keep your folds sharp, and compare your airplane with the images as you go.
Step 1
Fold the paper in half from left to right then unfold back to the original position.
Step 2

Fold the two corners down and in so that they meet flush in the center fold of the airplane.
Step 3

Now fold the left and right top corners in towards the center fold once more just like you did in Step 2. The left and right edge should meet flush in the center fold of the airplane.
Step 4

Fold the airplane in half along the same fold we made in Step 1.
Step 5

Fold each wing over so that the leading edge of the left and right wing meet flush with the bottom edge of the fuselage.
Step 6

Optional - Fold the wingtips up about 1/2 an inch from the wingtip to create optional winglets. Also, remember to fold the wings back up halfway to create your wings of the airplane.
Ready for Takeoff?
Give it a test flight. Small adjustments to the wings and winglets can make a big difference in how it flies.
Build Another Plane